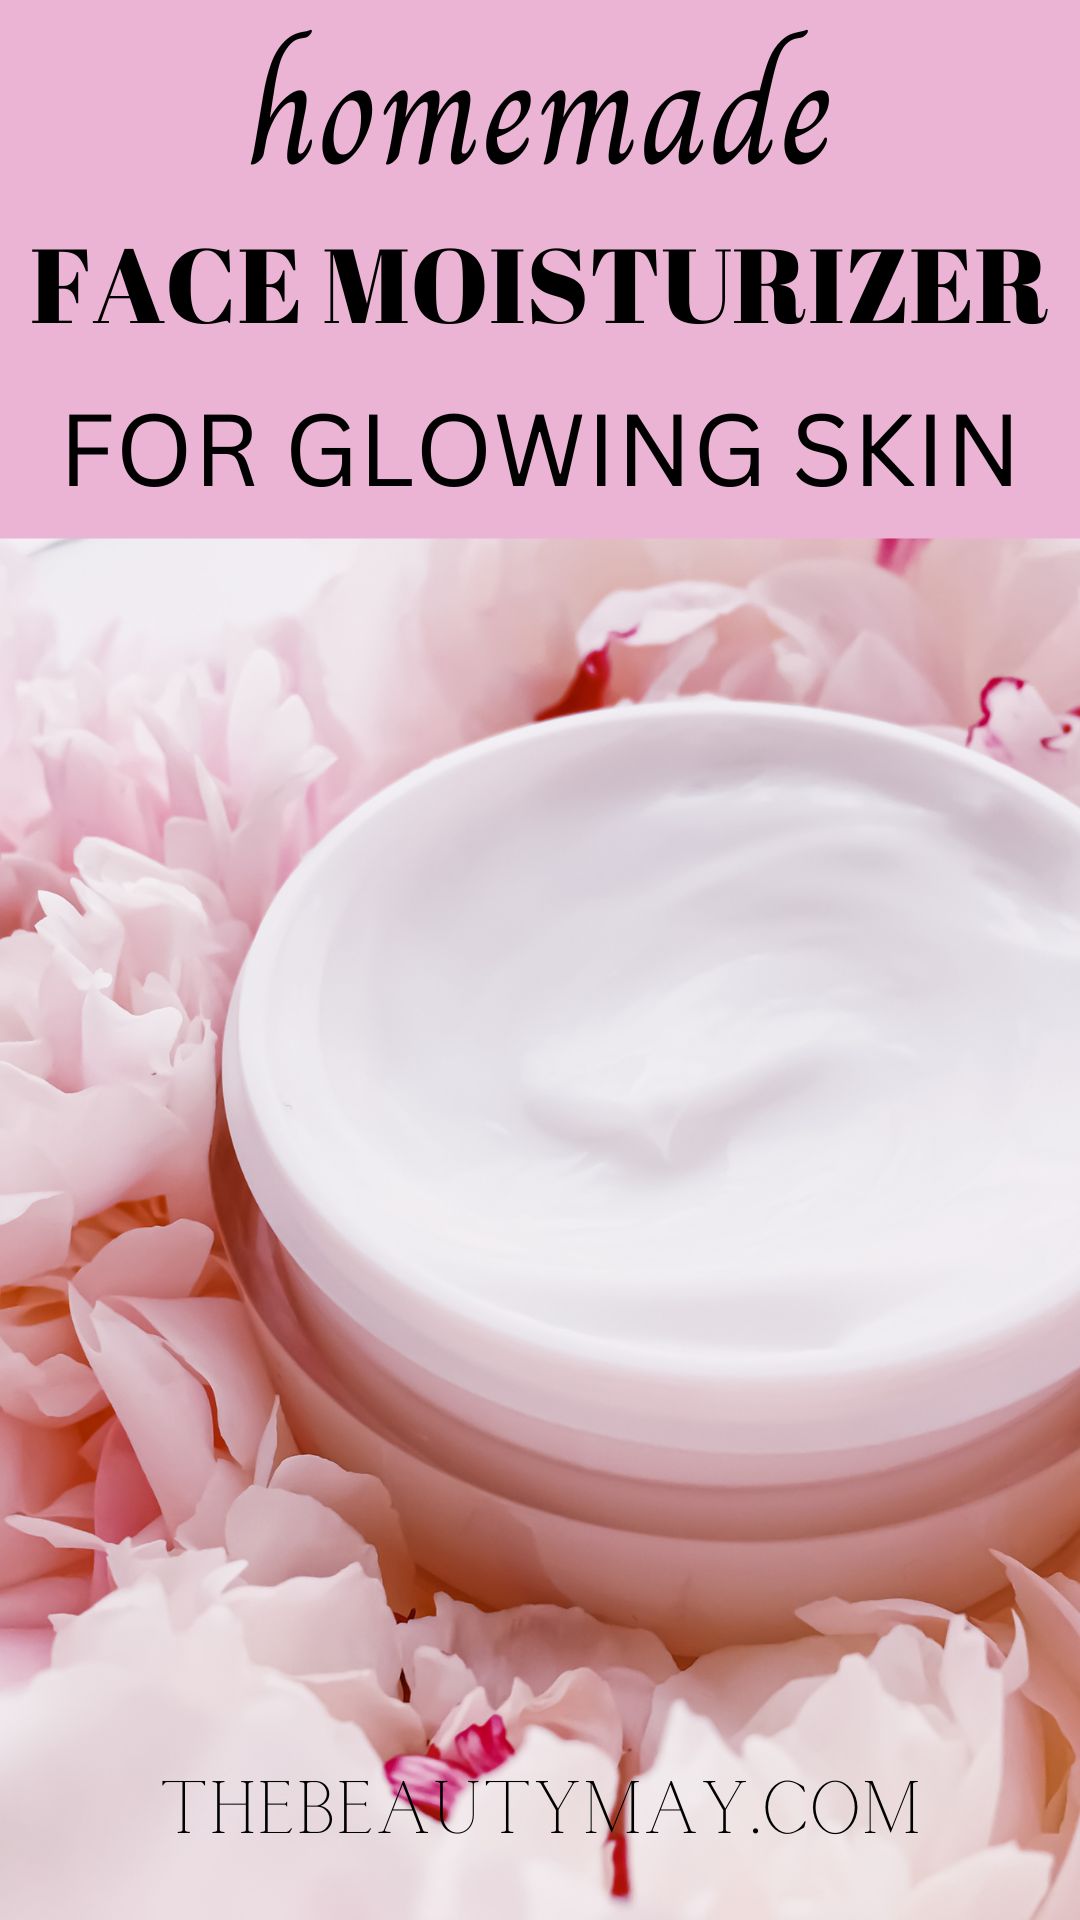
Are you tired of store-bought face moisturizers filled with unpronounceable ingredients and harsh chemicals? It’s time to take skincare into your own hands with a DIY homemade face moisturizer! Not only is it easy to make, but it’s also cost-effective and allows you to control exactly what goes on your skin. In this blog post, we’ll guide you through a simple, nourishing face moisturizer recipe that’s perfect for all skin types.
Why Go Homemade?
- Natural Ingredients: You know exactly what’s in your moisturizer.
- Cost-Effective: Save money in the long run.
- Customization: Tailor the ingredients to your skin’s needs.
- Eco-Friendly: Reduce plastic waste from store-bought products.
Homemade Face Moisturizer for Glowing Skin
Ingredients You’ll Need
- 1/4 cup Shea Butter: Deeply moisturizing and rich in vitamins A and E.
- 2 tablespoons Coconut Oil: Known for its hydrating and antibacterial properties.
- 1 tablespoon Jojoba Oil: Similar to skin’s natural sebum, great for all skin types.
- 1 tablespoon Aloe Vera Gel: Soothes and hydrates the skin.
- 5-10 drops Essential Oil (optional): Choose based on your skin needs (lavender for soothing, tea tree for acne-prone skin, etc.).
Instructions
- Melt the Shea Butter and Coconut Oil: In a double boiler or a heatproof bowl over a pot of simmering water, gently melt the shea butter and coconut oil until fully liquid.
- Remove from Heat: Once melted, remove from heat and let it cool for a few minutes.
- Add Jojoba Oil and Aloe Vera Gel: Stir in the jojoba oil and aloe vera gel until well combined.
- Add Essential Oils: If using, add your chosen essential oils and mix thoroughly.
- Chill the Mixture: Place the mixture in the refrigerator for about 15-20 minutes or until it starts to solidify but is still soft.
- Whip the Mixture: Using a hand mixer or a stand mixer, whip the mixture until it becomes light and fluffy.
- Store in a Jar: Transfer your whipped moisturizer to a clean, airtight jar. Store in a cool, dark place. It should last for about 3-6 months.
How to Use
- After cleansing your face, take a small amount of the moisturizer and gently massage it into your skin using upward, circular motions. Use it in the morning and at night for best results.
Tips and Tricks
- Patch Test First: Always perform a patch test before using any new product to ensure you don’t have an allergic reaction.
- Adjust Consistency: If you prefer a lighter moisturizer, you can reduce the amount of shea butter or increase the aloe vera gel.
- Experiment with Oils: Feel free to experiment with other oils like argan, rosehip, or almond oil to suit your skin type.
Benefits of the Ingredients
- Shea Butter: Excellent for dry skin, helps to heal and nourish.
- Coconut Oil: Provides deep hydration and has antibacterial properties.
- Jojoba Oil: Balances oil production and is non-comedogenic.
- Aloe Vera Gel: Calms irritation and hydrates without being greasy.
- Essential Oils: Add therapeutic benefits and pleasant scents.
💡TIP: Pin this article to your Homemade Skin Care board on Pinterest so you can always come back when you need to! 👇 👇 👇
Creating your own face moisturizer is a rewarding and empowering process. Not only do you get a product tailored to your skin’s specific needs, but you also take a step towards a more natural and sustainable skincare routine. Give this DIY moisturizer a try, and your skin will thank you!
This Post Was All About Homemade Face Moisturizer for Glowing Skin
